Hey there, nail art lover! If you're scrolling through this page, chances are you're already deep into the world of ombre nails. And let's be real, who wouldn't want their nails to look as chic and stylish as possible? Whether you're a DIY queen or just looking for some inspo, ombre nails have got you covered. This trend is not just about beauty—it's about expressing yourself, making a statement, and adding a touch of elegance to your everyday look.
But what exactly makes ombre nails so special? Well, it's all about that seamless gradient effect that transitions from one color to another. It's like watching a sunset on your fingertips, but way cooler. And guess what? This trend isn't going anywhere anytime soon. In fact, it's only getting bigger and better, with new techniques and designs popping up all the time.
So, if you're ready to dive into the mesmerizing world of ombre nails and explore some jaw-dropping images, you're in the right place. We've got everything you need to know about this stunning trend, including tips, tricks, and some seriously gorgeous visuals. Let's get started!
Table of Contents
- What Is Ombre Nails?
- A Brief History of Ombre Nails
- Why Ombre Nails Are Trending
- Different Techniques for Ombre Nails
- Popular Ombre Nail Colors
- Incredible Ombre Nail Designs
- Tips for Perfect Ombre Nails
- Common Mistakes to Avoid
- FAQ About Ombre Nails
- Conclusion: Nail It!
What Is Ombre Nails?
Alright, let's break it down. Ombre nails are basically a nail art technique where two or more colors are blended together to create a smooth gradient effect. Think of it as painting a canvas, but on your nails. The transition from one color to another is so seamless that it looks like magic. And trust me, it’s not just for girly girls—ombre nails can suit anyone, regardless of style or personality.
Why Ombre Nails Are So Popular
Here's the deal: ombre nails are versatile, stylish, and oh-so-elegant. They can go from casual to classy in a heartbeat. Plus, the gradient effect gives off this "effortless chic" vibe that everyone loves. Whether you're going for a pastel pink fade or a bold red-to-black combo, the possibilities are endless.
A Brief History of Ombre Nails
Now, let’s talk a little history. Ombre nails might seem like a modern trend, but the concept of color gradients has been around for centuries. Back in the day, people used to experiment with shading techniques on fabrics and walls. Fast forward to today, and we're using the same idea to make our nails pop.
When Did Ombre Nails Become a Thing?
The ombre nail trend really took off in the early 2010s, thanks to influencers and celebs who started showcasing these stunning designs on social media. Before you knew it, everyone was obsessed, and nail salons around the world started offering ombre services. Now, it's one of the most requested nail art styles out there.
Why Ombre Nails Are Trending
Let’s face it, ombre nails are more than just a trend—they’re a lifestyle choice. Here’s why everyone’s losing their minds over them:
- They’re super versatile and can match any outfit or occasion.
- The gradient effect makes your nails look longer and more polished.
- There are countless color combinations to choose from, so you can always switch it up.
- They’re perfect for both beginners and pros, whether you’re doing it yourself or visiting a salon.
Plus, with platforms like Instagram and Pinterest, sharing ombre nail designs has never been easier. People love scrolling through images of ombre nails for inspiration, and who can blame them? The visuals are absolutely stunning.
Different Techniques for Ombre Nails
Not all ombre nails are created equal. There are several techniques you can use to achieve that perfect gradient effect. Here’s a quick rundown:
1. Airbrushing
Airbrushing is one of the most popular methods for creating ombre nails. It involves using a special airbrush tool to apply color evenly and smoothly. This technique gives you that professional, salon-quality finish.
2. Dip Powder
Dip powder is another great option if you want long-lasting ombre nails. The process involves layering colored powder onto your nails and blending it with a brush. It’s a bit more hands-on, but the results are worth it.
3. Gel Polish
Gel polish is probably the easiest way to achieve ombre nails at home. All you need is a couple of colors, a sponge, and some patience. Just apply the colors in layers and blend them together for that smooth gradient effect.
Popular Ombre Nail Colors
When it comes to ombre nails, the sky's the limit when it comes to color choices. Here are some of the most popular combinations:
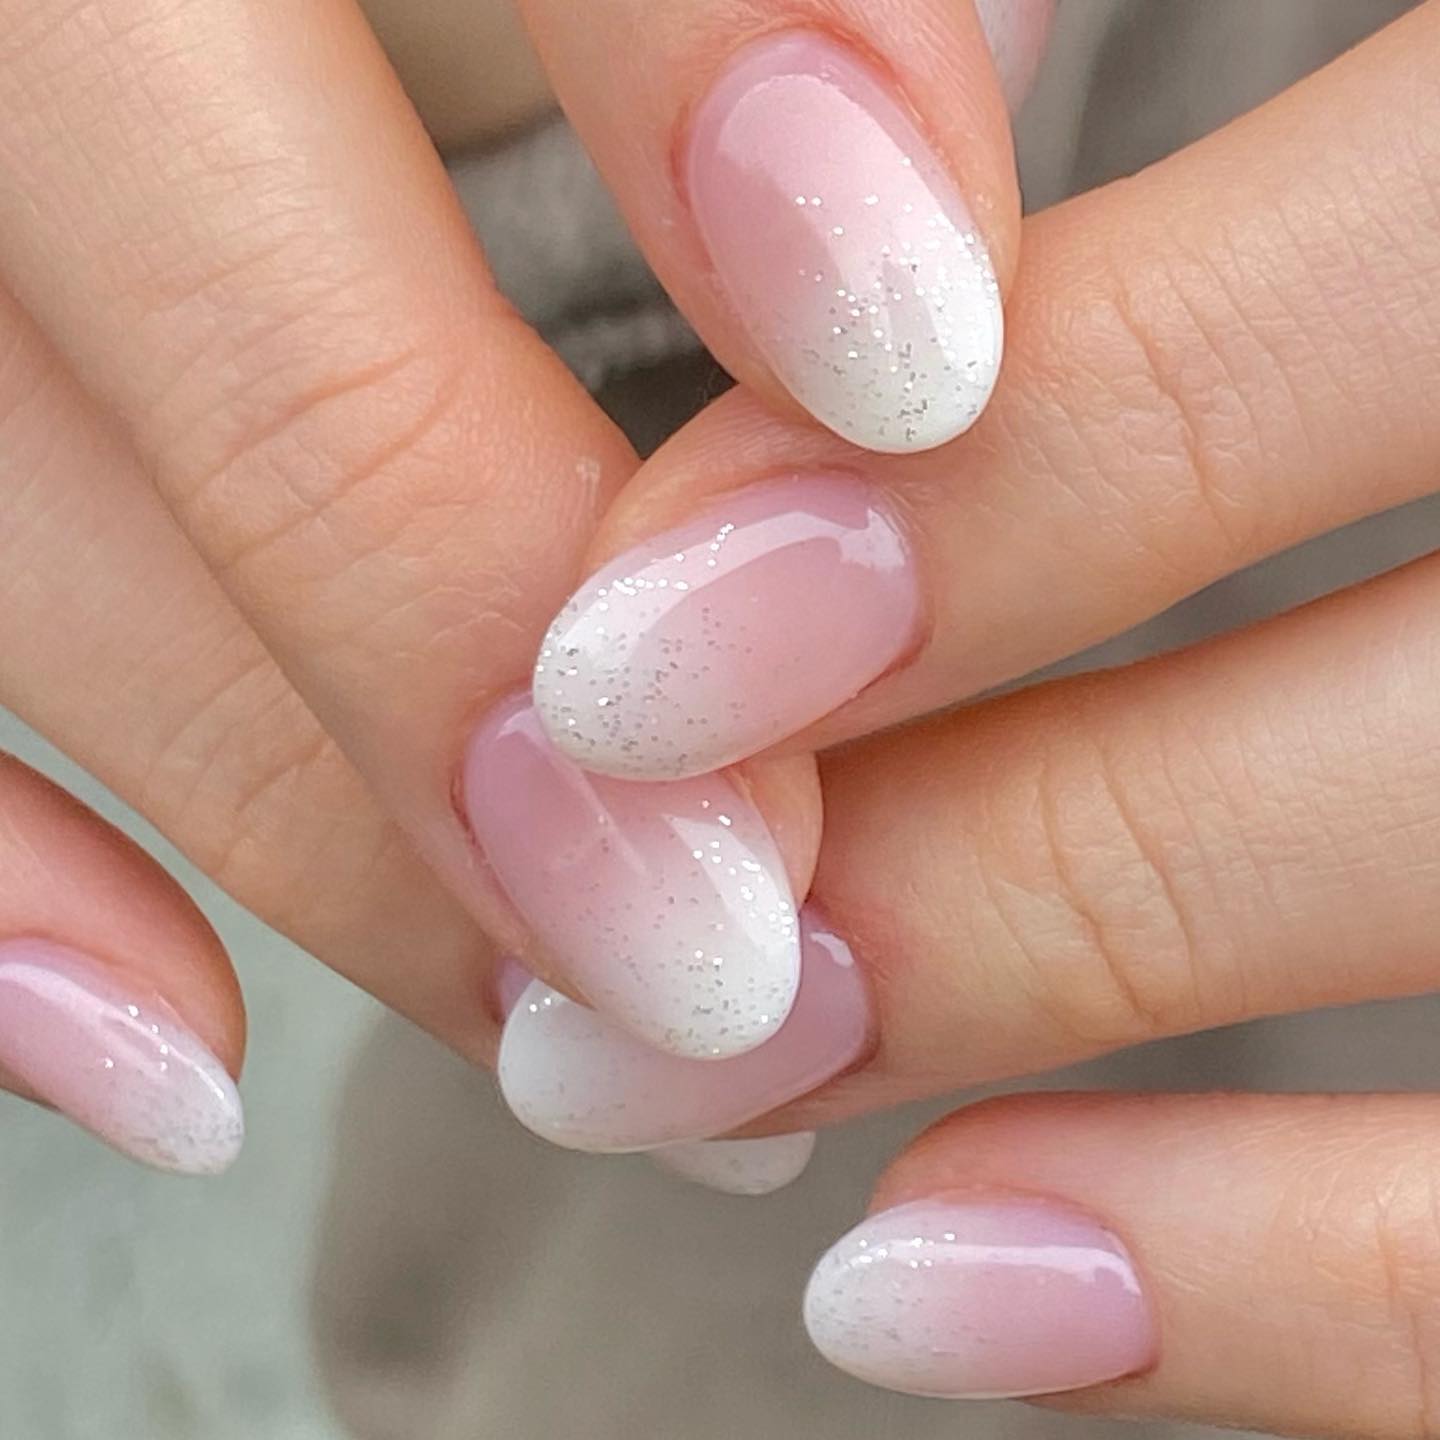
- Pastel pink to white
- Blue to purple
- Gold to bronze
- Black to silver
- Red to orange
Of course, you can always mix and match to create your own unique look. The key is to choose colors that complement each other and suit your personal style.
Incredible Ombre Nail Designs
Ready to see some jaw-dropping images of ombre nails? Here are a few designs that are absolutely worth checking out:
1. Sunset Ombre
This design mimics the colors of a sunset, with shades of orange, pink, and purple blending seamlessly together. It’s perfect for summer and adds a pop of color to any outfit.
2. Monochrome Glam
For a more subtle look, try a monochrome ombre design. This involves using different shades of the same color, like black to gray or white to cream. It’s chic, sophisticated, and super versatile.
3. Metallic Magic
Who doesn’t love a little sparkle? Metallic ombre nails are all about that shimmer and shine, with colors like gold, silver, and bronze blending together for a luxurious effect.
Tips for Perfect Ombre Nails
Want to nail that ombre look like a pro? Here are some tips to help you out:
- Start with a clean, smooth nail surface for better results.
- Use high-quality products to ensure the colors blend evenly.
- Take your time blending the colors—rushing can lead to uneven gradients.
- Experiment with different tools, like sponges or brushes, to find what works best for you.
And remember, practice makes perfect. The more you experiment with ombre nails, the better you’ll get at it.
Common Mistakes to Avoid
Even the best nail artists make mistakes sometimes. Here are a few common ones to watch out for:
- Using too many colors, which can make the design look chaotic.
- Not blending the colors properly, resulting in harsh lines instead of smooth transitions.
- Applying too much product, which can cause the colors to bleed or smudge.
By avoiding these mistakes, you’ll be well on your way to creating flawless ombre nails every time.
FAQ About Ombre Nails
Got questions? We’ve got answers! Here are some frequently asked questions about ombre nails:
1. How long do ombre nails last?
Depending on the technique used, ombre nails can last anywhere from one to three weeks. Gel polish and dip powder tend to last longer than regular nail polish.
2. Can I do ombre nails at home?
Absolutely! With the right tools and a little practice, you can create stunning ombre nails at home. Just follow the tips we mentioned earlier, and you’ll be good to go.
3. Are ombre nails expensive?
The cost of ombre nails varies depending on the technique and where you get them done. On average, you can expect to pay anywhere from $20 to $50 for a professional job.
Conclusion: Nail It!
There you have it, folks! Everything you need to know about images of ombre nails and how to achieve that perfect gradient look. Whether you’re a DIY enthusiast or prefer to leave it to the pros, ombre nails are a trend that’s here to stay. So, why not give it a try and see for yourself?
And hey, don’t forget to share this article with your friends and followers. Who knows? You might inspire someone to take their nail game to the next level. Until next time, keep shining—and keep those nails looking fabulous!
- How Old Is Ash Trevino
- Dan Hollaway Twitter
- Are Maggie Smith And Michael Caine Related
- Chris Evans Sad
- Td Bank Twitter