Do you own a non-stick pan but wonder how to make it last longer? Well, curing your non-stick cookware isn’t just about seasoning—it’s about preserving its quality and ensuring it performs at its best. Whether you’re a cooking enthusiast or just someone who loves whipping up quick meals, knowing how to cure a non-stick pan is essential. Let’s dive into the nitty-gritty of this process and uncover some pro tips along the way.
Cooking with a non-stick pan is a game-changer, but if you don’t take care of it properly, it can lose its magic. Curing a non-stick pan isn’t exactly like curing a cast-iron skillet, but it involves some similar steps. The goal is to enhance its non-stick properties and prevent food from sticking while cooking.
From understanding the science behind non-stick coatings to mastering the art of maintenance, this guide will walk you through everything you need to know. So, grab your favorite pan and let’s get started!
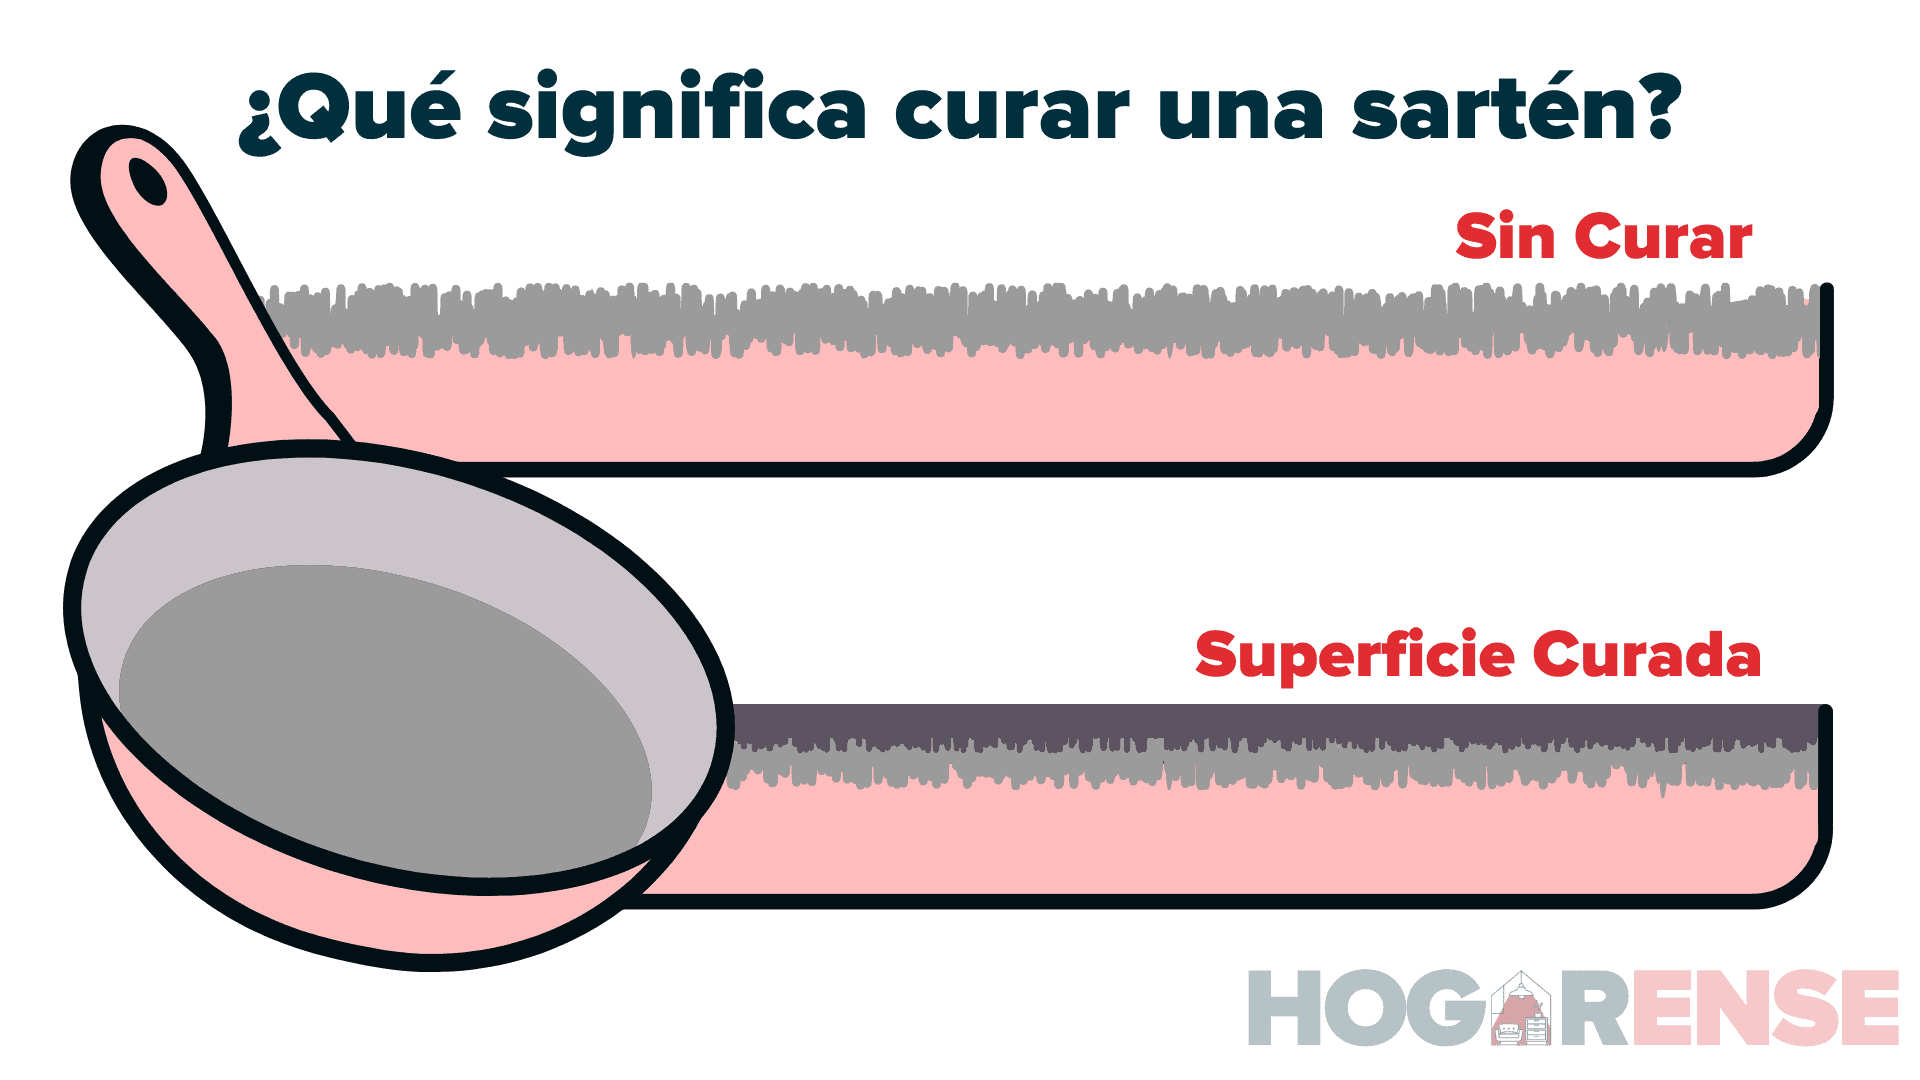
What Does It Mean to Cure a Non-Stick Pan?
When we talk about curing a non-stick pan, we’re referring to the process of preparing it for optimal performance. Unlike cast-iron pans, which require heavy seasoning, non-stick pans need a gentler approach. Curing helps reinforce the non-stick coating, making it more durable and effective over time.
Why Is Curing Important?
Curing your non-stick pan isn’t just about making it look shiny; it’s about protecting the coating and extending its lifespan. Here’s why curing matters:
- Prevents Food from Sticking: A well-cured pan ensures that food slides off effortlessly.
- Protects the Coating: Regular curing minimizes wear and tear on the non-stick surface.
- Enhances Heat Distribution: Proper curing ensures even heat distribution, preventing hot spots.
Think of curing as giving your pan a spa day—it keeps it looking and feeling its best.
Steps to Cure a Non-Stick Pan
Curing a non-stick pan is simpler than you might think. Follow these steps to give your pan the TLC it deserves:
Step 1: Clean Your Pan Thoroughly
Before you start curing, make sure your pan is squeaky clean. Use warm water and mild dish soap to remove any food residue. Avoid abrasive sponges or harsh chemicals, as they can damage the coating.
Step 2: Dry It Completely
Drying your pan thoroughly is crucial. Moisture can affect the curing process, so pat it dry with a clean towel or let it air dry for a few minutes.
Step 3: Apply a Thin Layer of Oil
Here’s the fun part! Coat the inside of your pan with a thin layer of oil. Vegetable oil or canola oil works perfectly. Use a paper towel to spread the oil evenly, ensuring no excess remains.
Step 4: Heat the Pan Gently
Place the oiled pan on low heat for about 5 minutes. This step helps the oil bond with the non-stick coating. Avoid high heat, as it can damage the pan.
Step 5: Let It Cool
Once the heating process is complete, turn off the stove and let the pan cool down naturally. This cooling phase is important for setting the oil into the coating.
Step 6: Wipe It Down
After cooling, wipe the pan with a clean cloth to remove any excess oil. Your pan is now ready to tackle your next culinary adventure!
Common Mistakes to Avoid
Even the best intentions can go wrong if you’re not careful. Here are some common mistakes to avoid when curing your non-stick pan:
- Using Too Much Oil: A thin layer is all you need. Excess oil can create a sticky residue.
- Using High Heat: Non-stick pans aren’t built for high temperatures, so keep the heat low during the curing process.
- Skipping the Cooling Phase: Letting the pan cool naturally ensures the oil bonds properly with the coating.
By steering clear of these mistakes, you’ll keep your pan in top condition.
How Often Should You Cure Your Non-Stick Pan?
Unlike cast-iron pans, which require frequent seasoning, non-stick pans don’t need constant curing. A good rule of thumb is to cure your pan every 3-6 months, depending on how often you use it. If you notice food sticking more than usual, it might be time for a quick cure.
Signs It’s Time to Cure
Your pan will let you know when it needs attention. Keep an eye out for these signs:
- Food sticking more than usual.
- Uneven cooking or hot spots.
- A dull or worn-out appearance.
Addressing these issues early can save you from having to replace your pan prematurely.
Tips for Maintaining Your Non-Stick Pan
Curing is just the beginning. Proper maintenance is key to keeping your non-stick pan in pristine condition. Here are some tips to help:
1. Use Wooden or Silicone Utensils
Metal utensils can scratch the non-stick coating, so stick to wooden or silicone options. They’re gentle yet effective for cooking.
2. Avoid High Heat
Non-stick pans aren’t designed for high-temperature cooking. Stick to medium or low heat to preserve the coating.
3. Hand Wash Only
While dishwashers are convenient, they’re a no-go for non-stick pans. Hand washing with mild soap and warm water is the safest option.
4. Store Properly
Stacking pans can cause scratches. Consider using pan protectors or storing your pans in a way that minimizes contact.
The Science Behind Non-Stick Coatings
Understanding the science behind non-stick coatings can help you appreciate the curing process. Most non-stick pans are coated with materials like Teflon, which create a slippery surface that prevents food from adhering. Curing enhances this property by allowing the oil to bond with the coating, creating a protective layer.
Studies show that proper care and maintenance can extend the lifespan of non-stick cookware by up to 50%. So, taking the time to cure your pan is an investment in its longevity.
Alternatives to Curing
If curing doesn’t quite fit your routine, there are alternatives to keep your non-stick pan in great shape:
1. Use Non-Stick Spray
Non-stick sprays can provide a quick fix for stubborn sticking issues. However, use them sparingly to avoid buildup.
2. Invest in Quality Cookware
Higher-quality non-stick pans often come with advanced coatings that require less maintenance. While they may cost more upfront, they save you time and effort in the long run.
3. Explore Ceramic Pans
Ceramic pans offer a non-stick alternative that doesn’t require curing. They’re eco-friendly and easy to maintain, making them a popular choice among home cooks.
FAQs About Curing Non-Stick Pans
1. Can I Use Olive Oil for Curing?
Yes, olive oil works well for curing non-stick pans. Just make sure to use a light layer and avoid overheating the pan.
2. Is It Safe to Use High Heat on a Non-Stick Pan?
No, high heat can damage the non-stick coating and release harmful fumes. Stick to low or medium heat for best results.
3. How Long Does a Non-Stick Pan Last?
With proper care, a non-stick pan can last anywhere from 3 to 5 years. Curing and regular maintenance play a big role in extending its lifespan.
Conclusion: Take Action and Keep Cooking!
Curing a non-stick pan might seem like an extra step, but it’s worth it for the peace of mind and improved cooking experience. By following the steps outlined in this guide, you’ll ensure your pan stays in top condition for years to come.
So, what are you waiting for? Grab your favorite non-stick pan and give it the care it deserves. Share your thoughts in the comments below, and don’t forget to check out our other kitchen tips for more inspiration!
Table of Contents
- Kirby Smart Twitter
- Billy Graham Twitter
- Femboy King
- Draymond Green Rudy Gobert Tweet
- Birthdays Feb 6