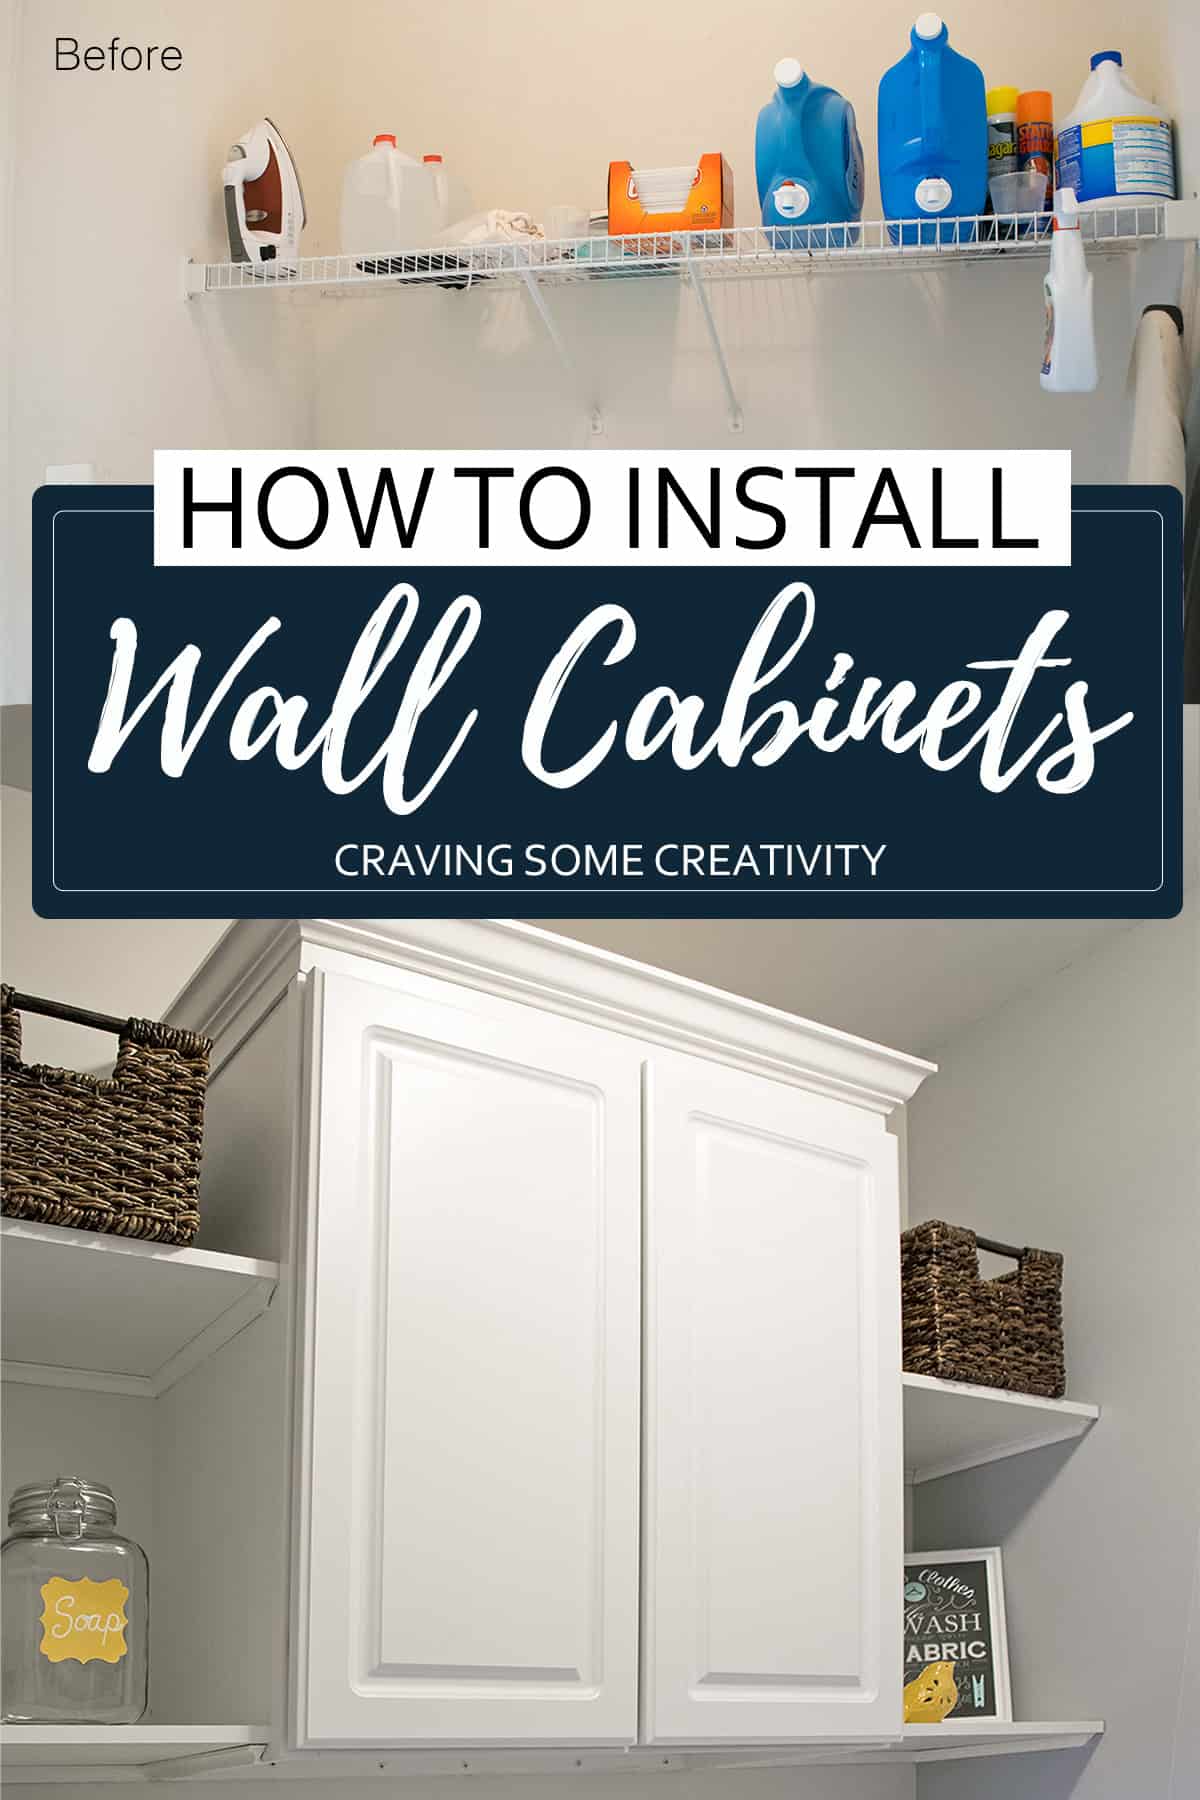
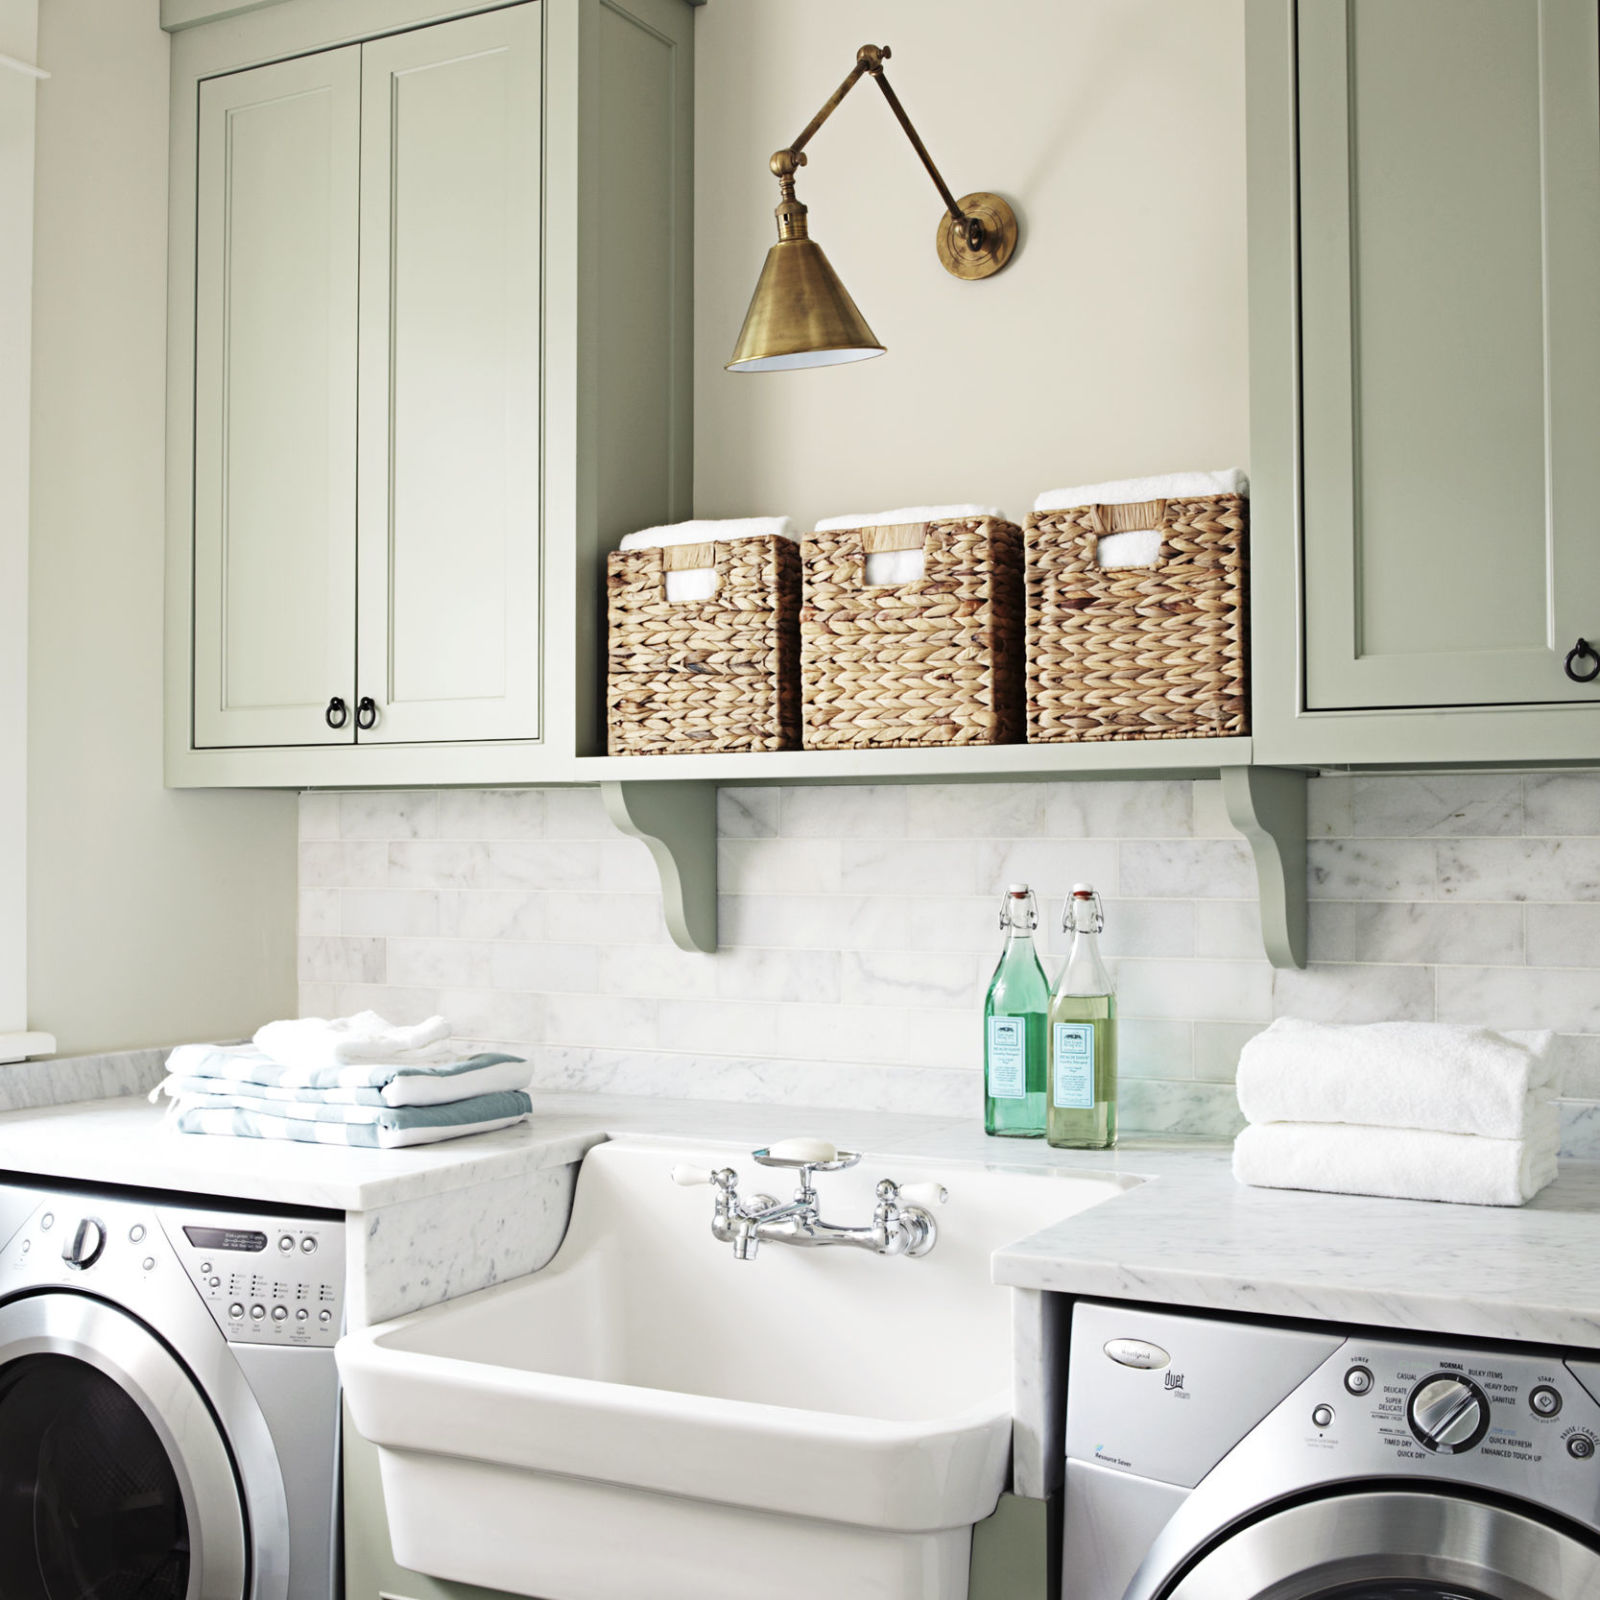
Do you dream of transforming your laundry room into a functional and stylish space? Adding cabinets can be the perfect solution to boost storage and organization. But if you’re wondering how to hang cabinets in laundry room properly, you’re not alone. This guide will walk you through every step, from preparation to installation, so you can get it done right the first time.
Let’s face it—laundry rooms often get the short end of the stick when it comes to design and organization. But hey, no one said you had to live with clutter and chaos. By installing cabinets, you can turn that boring laundry nook into a powerhouse of functionality. And the best part? It’s easier than you might think.
Whether you’re a DIY enthusiast or just trying to up your home game, learning how to hang cabinets in your laundry room is a skill worth mastering. Not only will it save you money, but it’ll also give you that satisfying feeling of accomplishment. So grab your tools, and let’s dive in!
- Draymond Green Rudy Gobert Tweet
- Are Maggie Smith And Michael Caine Related
- Ms Brittany
- Punam Mahajan
- Dane Gleesack
Table of Contents:
- Preparation is Key
- Tools and Materials You’ll Need
- Measuring Your Space
- Locating Wall Studs
- Mounting the Cabinets
- Ensuring Level Installation
- Securing the Cabinets
- Finishing Touches
- Pro Tips for Success
- FAQs About Hanging Cabinets
Preparation is Key
Before you start drilling holes and attaching cabinets, it’s crucial to prepare your workspace. Clear out the area, remove any obstructions, and make sure you have all the necessary tools and materials on hand. This step might seem simple, but trust me, it makes a huge difference.
Start by cleaning the walls thoroughly. Dust, dirt, or grease can interfere with the adhesive properties of screws and brackets, so you want a clean surface. Also, take some time to think about the layout of your cabinets. Where do you want them? How high should they be? These decisions will guide the rest of your project.
Why Prep Matters
Skipping preparation is like trying to build a house without a foundation—it’s just asking for trouble. Proper prep ensures that your cabinets are installed securely and look great. Plus, it helps prevent costly mistakes down the road.
Tools and Materials You’ll Need
Now that you’ve prepped your space, let’s talk about what you’ll need to hang those cabinets. Here’s a quick rundown of the essentials:
- Power drill with various bits
- Level
- Stud finder
- Tape measure
- Wood screws
- Cabinet hardware
- Wall anchors (if needed)
- Safety goggles and gloves
Don’t skimp on quality here. Investing in good tools will make the job smoother and more efficient. Plus, they’ll last you for future projects.
Choosing the Right Tools
When it comes to tools, one size doesn’t fit all. For example, using the wrong drill bit can damage your walls or cabinets. Always double-check that your tools are compatible with the materials you’re working with.
Measuring Your Space
Measuring is one of the most critical steps in hanging cabinets. You don’t want to end up with cabinets that are too big or too small for your laundry room. Take precise measurements of the wall space, including height, width, and depth.
Also, consider the placement of your washer and dryer. You’ll want to ensure there’s enough clearance for these appliances to function properly. It’s all about balance—maximizing storage without sacrificing usability.
Tips for Accurate Measurements
Here are a few pro tips to help you measure like a pro:
- Measure twice, cut once. Seriously, this rule is golden.
- Account for obstructions like outlets or pipes.
- Use a laser level for extra precision.
Locating Wall Studs
Wall studs are the backbone of secure cabinet installation. Without them, your cabinets might end up wobbling or even falling off the wall. Use a stud finder to locate the studs in your wall. Mark their positions with a pencil, and plan your screw placements accordingly.
If you’re dealing with concrete or brick walls, you’ll need to use wall anchors instead of screws. This adds an extra layer of complexity, but it’s doable with the right tools and technique.
What Happens If You Miss the Studs?
Missing the studs is a common rookie mistake, but it’s not the end of the world. You can still secure your cabinets using heavy-duty wall anchors. Just be sure to follow the manufacturer’s instructions carefully.
Mounting the Cabinets
Once you’ve prepped your space, gathered your tools, and located the studs, it’s time to mount those cabinets. Start by assembling the cabinets according to the manufacturer’s instructions. Then, hold them up to the wall and use a level to ensure they’re perfectly aligned.
Secure the cabinets to the wall using wood screws. Drive the screws into the pre-marked stud locations. If you’re using wall anchors, follow the same process but insert the anchors first.
Common Mounting Mistakes
Here are a few mistakes to avoid during the mounting process:
- Not checking for level frequently enough
- Using screws that are too short
- Forgetting to pre-drill holes in hard surfaces
Ensuring Level Installation
Leveling is essential for both aesthetics and functionality. A crooked cabinet not only looks bad but can also lead to structural issues over time. Use a bubble level to ensure your cabinets are perfectly straight before tightening the screws.
If you’re working with multiple cabinets, connect them together using cabinet hardware. This creates a unified look and adds extra stability.
Why Leveling Matters
A level installation ensures that your cabinets function properly and last longer. It also gives your laundry room a polished, professional appearance.
Securing the Cabinets
After mounting and leveling your cabinets, it’s time to secure them in place. Tighten all screws and check for any loose connections. If you’re installing upper cabinets, consider adding additional support brackets for extra stability.
For lower cabinets, attach them to the wall using angle brackets. This prevents them from tipping over, especially if they’re loaded with heavy items.
Additional Security Measures
Here are a few extra steps you can take to secure your cabinets:
- Use construction adhesive for added strength
- Install safety latches if kids are around
- Reinforce joints with wood glue
Finishing Touches
With the cabinets securely installed, it’s time to add the finishing touches. Install cabinet doors and hardware, and give everything a final inspection. Make sure everything is level, secure, and functioning properly.
Consider painting or staining the cabinets to match your laundry room’s decor. This small detail can make a big impact on the overall look of the space.
Decorating Your Cabinets
Here are some ideas to enhance the appearance of your cabinets:
- Add decorative knobs or pulls
- Install under-cabinet lighting
- Use wallpaper or tile backsplashes
Pro Tips for Success
Here are a few final tips to help you succeed in hanging cabinets in your laundry room:
- Work with a partner for larger cabinets
- Take breaks to avoid fatigue
- Document your progress with photos
Remember, patience and attention to detail are key. Don’t rush the process—take your time and do it right.
FAQs About Hanging Cabinets
Q: Can I hang cabinets on drywall without studs?
A: Yes, but you’ll need to use wall anchors for support.
Q: How high should I hang upper cabinets?
A: Typically, upper cabinets should be hung between 18-24 inches above the countertop or appliances.
Q: What’s the best material for laundry room cabinets?
A: Moisture-resistant materials like PVC or laminate are ideal for laundry rooms.
Final Thoughts
Hanging cabinets in your laundry room might seem intimidating at first, but with the right approach, it’s a manageable project. By following this step-by-step guide, you’ll be able to transform your laundry space into a functional and stylish area. So what are you waiting for? Get started today and see the difference it makes!
Feel free to leave a comment below or share this article with your friends who might need a helping hand. And hey, if you’ve got any questions, don’t hesitate to ask. Happy DIY-ing!
- Prince Wilburn
- Amy Yazbek
- South Dakota Milesplit
- Conservative Brief Twitter
- Bristol Motor Speedway Twitter