Washing nipple covers might sound like a small task, but it’s actually super important for maintaining hygiene and ensuring they last longer. Whether you’re using silicone, fabric, or any other type of nipple cover, proper cleaning is key. In this article, we’ll dive deep into the best methods to wash nipple covers safely and effectively. So grab a cup of coffee, and let’s get started!
When it comes to personal hygiene, even the tiniest accessories deserve attention. Nipple covers are no exception. These tiny wonders are designed to provide comfort, confidence, and support, but they can easily harbor dirt, oils, and bacteria if not cleaned properly. That’s where this guide comes in handy.
We’re about to break down everything you need to know about washing nipple covers. From the materials they’re made of to step-by-step cleaning instructions, we’ve got your back. Let’s make sure your nipple covers stay fresh and ready for action!
Understanding Nipple Covers: What Are They Made Of?
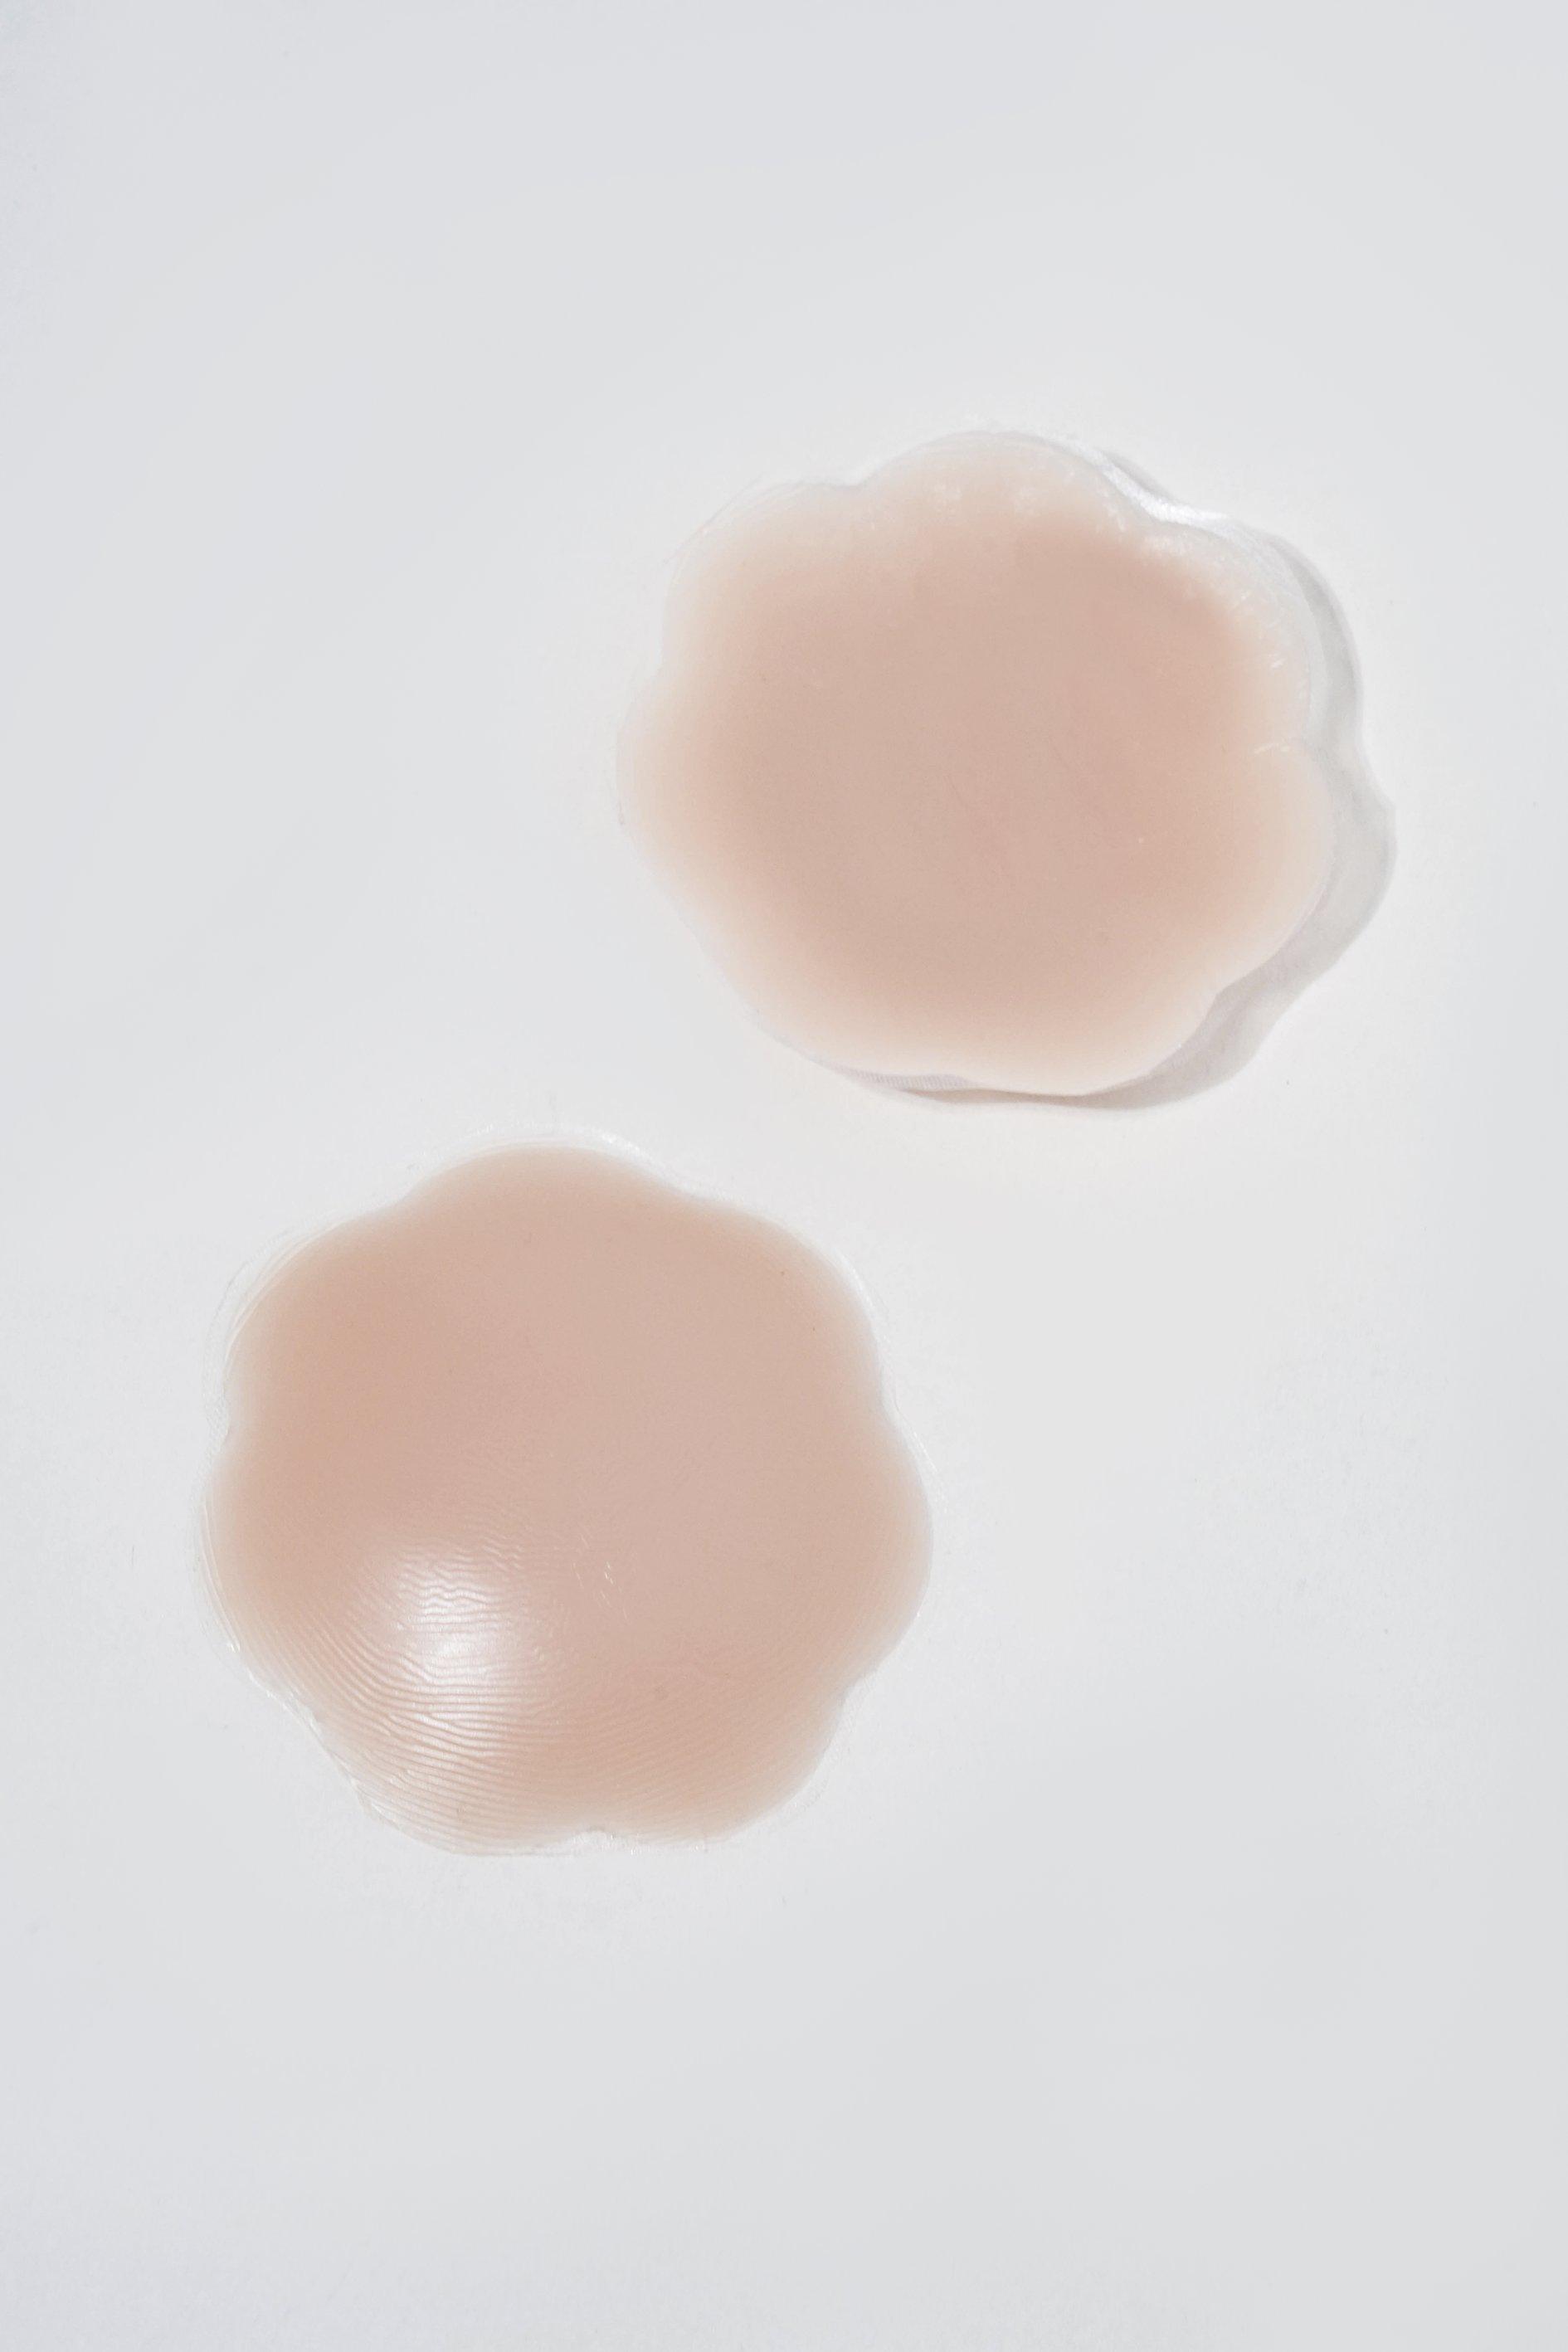
Before we dive into how to clean them, let’s talk about what nipple covers are made of. Different materials require different cleaning methods, so understanding the material is crucial. Here’s a quick rundown:
- Silicone: Durable and easy to clean, silicone nipple covers are a popular choice.
- Fabric: Soft and breathable, fabric nipple covers are great for everyday use.
- Adhesive: Some nipple covers come with adhesive backs, which need special care to avoid damaging the sticky part.
Knowing the material of your nipple covers will help you choose the right cleaning method. Don’t worry; we’ll cover all the bases in the next sections!
Why Cleaning Nipple Covers Matters
Here’s the deal—nipple covers come into direct contact with your skin, which means they can accumulate sweat, oils, and bacteria over time. If left uncleaned, these little accessories can become breeding grounds for germs, leading to irritation or even infections.
Regular cleaning ensures that your nipple covers remain hygienic and functional. Plus, clean nipple covers last longer, saving you money in the long run. Who doesn’t love that?
Step-by-Step Guide to Washing Nipple Covers
Now that we’ve established why cleaning is essential, let’s get into the nitty-gritty of how to do it. Follow these simple steps for a thorough clean:
Step 1: Gather Your Supplies
You’ll need just a few basic items to clean your nipple covers:
- Gentle soap or detergent
- Warm water
- A soft brush (like a baby toothbrush)
- A clean towel
Step 2: Rinse with Warm Water
Start by rinsing your nipple covers under warm water to remove any loose dirt or debris. This step is especially important for fabric covers, as it helps loosen stains.
Step 3: Apply Soap or Detergent
Using a small amount of gentle soap or detergent, gently scrub the surface of the nipple covers. For silicone covers, you can use a soft brush to reach any hard-to-clean areas. Be careful not to apply too much pressure, as this could damage the material.
Step 4: Rinse Thoroughly
Make sure to rinse the covers thoroughly under warm water to remove all soap residue. Soap left on the material can cause irritation or affect the adhesive if your covers have one.
Step 5: Dry Completely
Pat your nipple covers dry with a clean towel. Avoid rubbing them vigorously, as this can stretch out fabric covers or damage silicone ones. Let them air dry completely before storing or using them again.
Tips for Cleaning Specific Types of Nipple Covers
Not all nipple covers are created equal, so here are some specific tips for cleaning different types:
Silicone Nipple Covers
Silicone nipple covers are durable and easy to clean, but there are a few things to keep in mind:
- Use a mild soap or baby shampoo to avoid damaging the material.
- If your covers have a matte finish, avoid abrasive brushes that could scratch the surface.
- Consider sterilizing silicone covers by boiling them for a few minutes once a week.
Fabric Nipple Covers
Fabric nipple covers require a bit more care, but they’re still easy to clean:
- Hand wash them with a gentle detergent to preserve their shape and color.
- Avoid using fabric softeners, as they can leave a residue that affects the material’s breathability.
- Let them air dry instead of tossing them in the dryer to prevent shrinking.
Adhesive Nipple Covers
Adhesive nipple covers need special attention to maintain their stickiness:
- Wash them gently with water only, avoiding soap or detergent.
- Let them dry completely before reapplying them to your skin.
- Store them in a cool, dry place to keep the adhesive intact.
Common Mistakes to Avoid
Even with the best intentions, mistakes can happen. Here are a few common errors to avoid when washing nipple covers:
- Using harsh chemicals that can damage the material or irritate your skin.
- Not rinsing thoroughly, leaving soap residue behind.
- Drying them in direct sunlight, which can cause discoloration or weaken the material.
By avoiding these mistakes, you’ll ensure your nipple covers stay in tip-top shape.
How Often Should You Wash Nipple Covers?
The frequency of washing depends on how often you use your nipple covers. As a general rule, it’s a good idea to wash them after every use. This ensures that they remain clean and hygienic, reducing the risk of irritation or infection.
If you use them daily, consider having a few pairs on rotation so you can wash them regularly without running out. Trust me, your skin will thank you!
Storage Tips for Nipple Covers
Proper storage is just as important as cleaning. Here’s how to store your nipple covers to keep them in great condition:
- Store them in a clean, dry place away from direct sunlight.
- Use a small container or pouch to protect them from dust and moisture.
- If your covers have adhesive backs, place a piece of wax paper between them to prevent sticking.
By following these storage tips, you’ll extend the lifespan of your nipple covers and keep them ready for use whenever you need them.
When to Replace Nipple Covers
Even with proper care, nipple covers won’t last forever. Here are some signs it’s time to replace them:
- Visible wear and tear, such as cracks or tears.
- Loss of adhesive strength in adhesive-backed covers.
- Discoloration or stubborn stains that won’t come out.
Replacing your nipple covers regularly ensures you’re always using a fresh, hygienic product. Plus, it’s a great excuse to try out new styles or colors!
Final Thoughts
Washing nipple covers might seem like a small task, but it plays a big role in maintaining your personal hygiene and comfort. By following the steps outlined in this guide, you’ll ensure your nipple covers stay clean, functional, and ready for action.
Now it’s your turn! Have any questions or tips of your own? Drop a comment below and share your thoughts. And don’t forget to share this article with your friends—spread the love (and the knowledge)!
Thanks for reading, and happy cleaning!
Table of Contents
- Understanding Nipple Covers: What Are They Made Of?
- Why Cleaning Nipple Covers Matters
- Step-by-Step Guide to Washing Nipple Covers
- Tips for Cleaning Specific Types of Nipple Covers
- Common Mistakes to Avoid
- How Often Should You Wash Nipple Covers?
- Storage Tips for Nipple Covers
- When to Replace Nipple Covers
- Final Thoughts