Glitter ombre nails have taken the beauty world by storm, and it's no surprise why. This dazzling trend combines the elegance of ombre with the eye-catching shimmer of glitter, creating a look that’s both trendy and timeless. Whether you’re attending a special occasion or just want to elevate your everyday style, glitter ombre nails are here to make a statement. So, let’s dive into the world of nail art and explore how you can achieve this stunning look!
If you’re wondering what makes glitter ombre nails so special, it’s all about the transition. Unlike regular glitter nails, which can sometimes feel overwhelming, the ombre effect adds a soft gradient that draws attention without being too overpowering. It’s like having a mini sunset on your fingertips, but with a touch of sparkle that catches the light in all the right ways.
From choosing the perfect shades to mastering the technique, this guide will take you through every step of creating glitter ombre nails. Whether you’re a DIY enthusiast or planning to visit your local nail salon, we’ve got you covered. So, let’s get started and turn those nails into works of art!
What Are Glitter Ombre Nails?
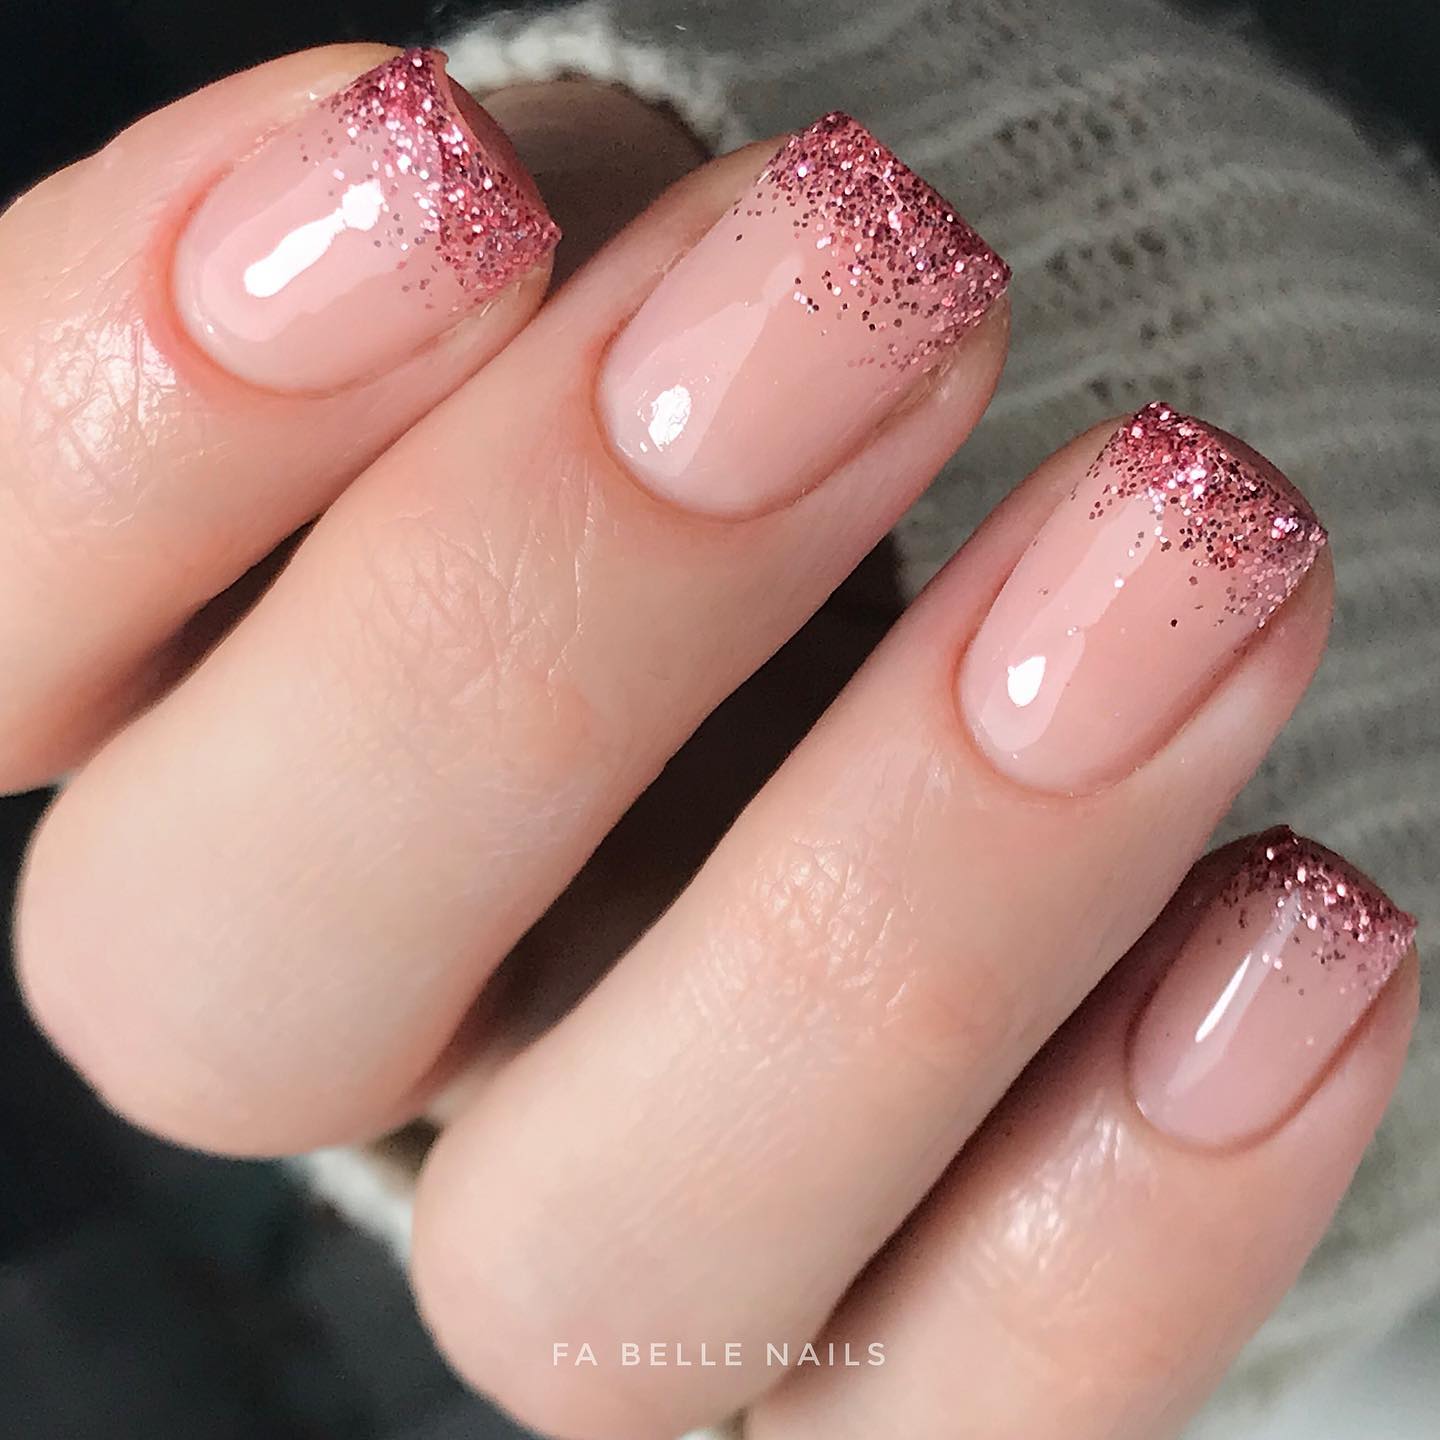
Glitter ombre nails are a stunning fusion of two popular nail trends: glitter and ombre. The ombre effect refers to a gradual transition between two or more colors, creating a smooth gradient that mimics the look of a sunset or sunrise. When combined with glitter, the result is nothing short of magical. The shimmering particles add an extra layer of dimension, making your nails look like they’re glowing from within.
This trend is perfect for anyone who loves experimenting with nail art but doesn’t want to go overboard. The ombre effect softens the impact of glitter, making it suitable for both casual and formal settings. Plus, the versatility of glitter ombre nails means you can customize the look to suit your personal style.
Why Should You Try Glitter Ombre Nails?
If you’re on the fence about trying glitter ombre nails, here are a few reasons why you should give them a shot:
- They’re versatile and can be customized to match any outfit or occasion.
- The ombre effect adds a touch of sophistication, while the glitter keeps things fun and playful.
- They’re a great way to express your creativity and showcase your unique personality.
- With the right technique, you can achieve professional-looking results at home.
Whether you’re looking for a bold statement or a subtle touch of sparkle, glitter ombre nails have something for everyone. And the best part? You don’t need to be an expert to create this look yourself.
Choosing the Right Colors for Glitter Ombre Nails
Picking the perfect colors is key to achieving the desired effect with glitter ombre nails. Here are a few tips to help you choose:
Warm Tones
If you’re going for a warm and inviting look, consider using shades like gold, bronze, and copper. These colors are perfect for fall and winter, adding a cozy touch to your nail art. Pair them with fine glitter for a more understated effect, or go bold with chunky glitter for a statement look.
Cool Tones
For a refreshing and calming vibe, opt for cool tones like blue, purple, and silver. These colors work beautifully in summer and spring, complementing lighter outfits and beachy hairstyles. A mix of fine and chunky glitter can create a multidimensional effect that catches the light from every angle.
Neutral Shades
If you prefer a more subtle look, neutral shades like beige, gray, and white can be a great choice. These colors are versatile and easy to pair with any outfit. Adding a hint of glitter can elevate the simplicity of neutral tones, making them perfect for everyday wear.
Tools and Materials You’ll Need
Before you start creating your glitter ombre nails, make sure you have all the necessary tools and materials. Here’s a list to help you get started:
- Base coat
- Ombre nail polish shades
- Glitter nail polish
- Top coat
- Nail art brush (optional)
- Sponge for blending
- Cuticle oil
- Nail polish remover
Having the right tools will make the process smoother and help you achieve professional-looking results. Plus, investing in quality products ensures that your glitter ombre nails last longer and look their best.
Step-by-Step Guide to Creating Glitter Ombre Nails
Ready to try your hand at glitter ombre nails? Follow these simple steps to create a stunning look:
Step 1: Prep Your Nails
Start by cleaning your nails with a gentle polish remover to ensure a smooth surface. Apply a base coat to protect your nails and prevent staining. This step is crucial for maintaining the health of your nails while keeping the polish in place.
Step 2: Apply the Ombre Effect
Using a sponge, apply your chosen ombre shades in layers. Begin with the lighter color at the base of your nails and gradually add darker shades towards the tips. Blend the colors carefully to achieve a seamless gradient.
Step 3: Add Glitter
Once the ombre effect is complete, it’s time to add the glitter. Apply a thin layer of glitter nail polish over the ombre base, focusing on the tips or the center of your nails for a balanced look. You can also mix different types of glitter for added dimension.
Step 4: Seal the Deal
Finish off with a generous layer of top coat to lock in the glitter and ombre effect. This will not only enhance the shine but also protect your nails from chipping. Allow the top coat to dry completely before handling anything.
Common Mistakes to Avoid
Creating glitter ombre nails can be tricky, especially if you’re new to nail art. Here are some common mistakes to watch out for:
- Using too much glitter, which can make the look overwhelming.
- Not blending the ombre colors properly, resulting in harsh lines instead of a smooth gradient.
- Skipping the base coat, which can lead to staining and uneven polish application.
- Not applying enough top coat, causing the glitter to fall off quickly.
By avoiding these mistakes, you’ll be able to create glitter ombre nails that look polished and professional.
Glitter Ombre Nails for Different Occasions
One of the best things about glitter ombre nails is their versatility. Here’s how you can adapt the look for different occasions:
Weddings and Formal Events
For weddings and formal events, stick to elegant colors like silver, gold, and champagne. A delicate sprinkle of glitter will add just the right amount of sparkle without overshadowing the occasion.
Parties and Night Outs
When hitting the town, go all out with bold colors like deep purple, emerald green, or electric blue. Pair them with chunky glitter for a look that’s sure to turn heads.
Casual Days
For everyday wear, choose soft pastel shades like pink, lavender, and mint. A light dusting of glitter will keep things fun and playful without being too flashy.
Tips for Maintaining Glitter Ombre Nails
To keep your glitter ombre nails looking fresh and vibrant, follow these maintenance tips:
- Apply a fresh layer of top coat every few days to prevent chipping.
- Use cuticle oil regularly to keep your nails hydrated and healthy.
- Avoid exposing your nails to harsh chemicals, which can dull the polish.
- Touch up any areas where the glitter or ombre effect has worn off.
With proper care, your glitter ombre nails can last for weeks, giving you plenty of time to enjoy the look.
Where to Find Inspiration for Glitter Ombre Nails
If you’re looking for inspiration, social media platforms like Instagram and Pinterest are treasure troves of nail art ideas. Search for hashtags like #GlitterOmbreNails or #NailArt and browse through thousands of stunning designs. You can also follow popular nail artists and influencers who regularly share their latest creations.
Don’t be afraid to experiment and put your own spin on the trend. Whether you prefer classic colors or bold combinations, the possibilities are endless.
Conclusion: Sparkle Your Way to Style
Glitter ombre nails are more than just a trend; they’re a way to express your personality and creativity through nail art. By following the steps outlined in this guide, you can achieve a stunning look that’s both eye-catching and sophisticated.
So, what are you waiting for? Grab your nail polish and start creating your own glitter ombre masterpiece. And don’t forget to share your results with us in the comments below. Who knows? Your design might inspire someone else to try this amazing trend!
Table of Contents
- What Are Glitter Ombre Nails?
- Why Should You Try Glitter Ombre Nails?
- Choosing the Right Colors for Glitter Ombre Nails
- Tools and Materials You’ll Need
- Step-by-Step Guide to Creating Glitter Ombre Nails
- Common Mistakes to Avoid
- Glitter Ombre Nails for Different Occasions
- Tips for Maintaining Glitter Ombre Nails
- Where to Find Inspiration for Glitter Ombre Nails
- Conclusion: Sparkle Your Way to Style